MR. ROOF INC / Roofing
Roof Leaks After a Storm in Warwick, RI: What to Check
A practical post-storm checklist for Warwick homeowners: record water entry, understand flashing and runoff issues, and ask for repairs tied to inspection findings.
Rain has stopped, but a ceiling stain is growing. Before deciding which shingles to replace, a roofing assessment needs to establish where water entered and which materials became wet. A stain identifies a problem inside the house; it does not, by itself, identify the exterior detail that failed.
This guide helps Warwick homeowners organize observations after a storm, understand the roof details worth investigating and request a repair scope that addresses the evidence. It is a way to prepare for an inspection, rather than diagnose a roof from the lawn or a photograph.
Make a short record before the evidence changes
When conditions are safe, take photographs from the ground and inside the affected room. Include a wide view showing the location and closer views of the stain, dripping or damaged finish. Record when you first noticed water, whether it appeared during the rain or afterward, and whether the same area has leaked before.
Photograph displaced shingles, fallen branches and changes to gutters without climbing onto the roof. GAF’s storm-damage guidance recommends documenting visible effects from a safe vantage point. Missing shingles and interior water stains justify investigation, but a photograph alone cannot establish the extent or cause of damage.
Keep earlier repair paperwork with the new photographs. A previous patch, skylight installation or gutter alteration may help the contractor understand what changed. Separate what you observed from what you suspect.
Address active water entry separately from the permanent repair
If water is still entering, tell the contractor that when arranging service. Ask whether temporary protection is needed and how access can be made safely. Do not climb a wet roof to spread a tarp. Stay clear of sagging ceiling sections and water near electrical fixtures; those conditions need appropriate professional attention.
Stopping the leak and drying the interior are separate tasks. Ask who will evaluate wet insulation, wallboard or other affected materials. The EPA’s homeowner moisture guide emphasizes prompt drying of water-damaged areas. Covering an exterior opening does not establish that concealed materials are dry, and repainting should wait until the water source and interior condition have been addressed.
Ask the inspection to follow joints and penetrations
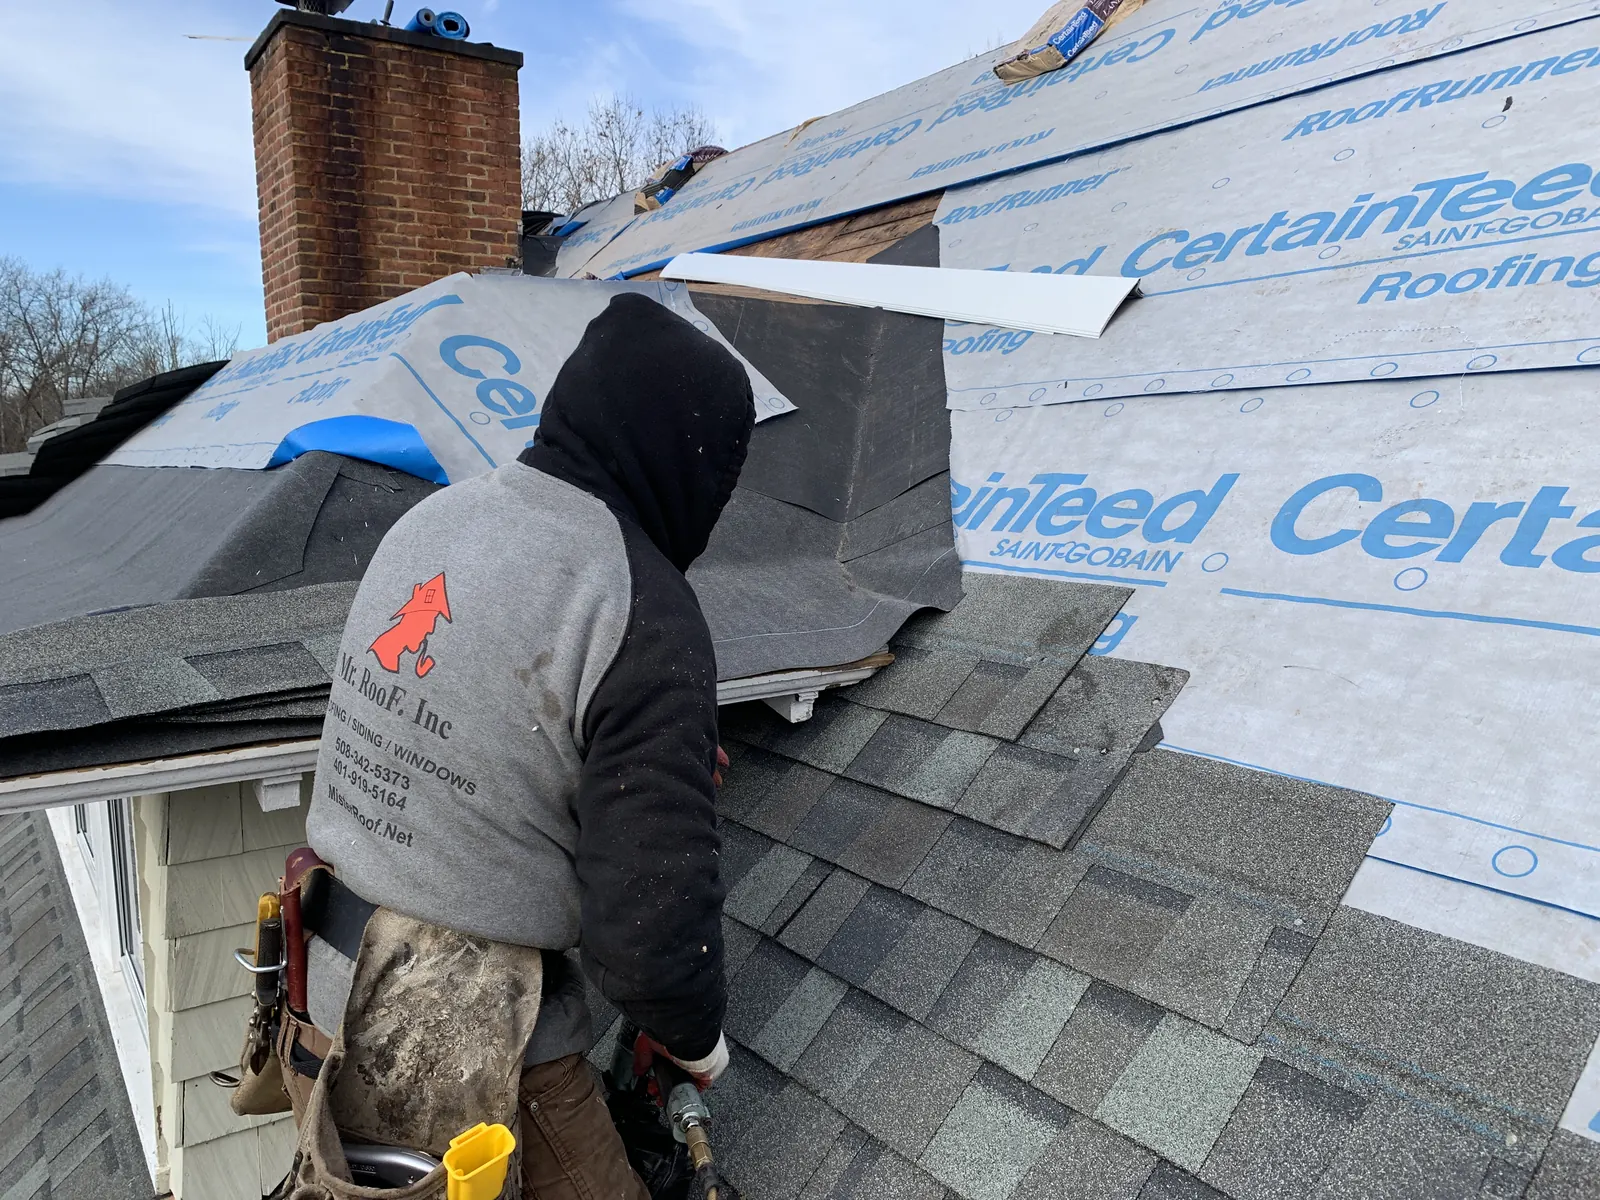
Roofing has vulnerable transitions as well as broad shingle surfaces. A contractor should explain the condition of flashing around chimneys, skylights, vent pipes and adjoining walls where relevant to the leak. Flashing is the material that manages water at these junctions; a roof can have a problem there even when the nearby shingles look orderly.
GAF’s roof-leak overview identifies deteriorated flashing, damaged shingles and clogged gutters among possible causes. The inspection should distinguish them instead of treating every wet ceiling as the same shingle problem.
Request photographs of the suspected entry point and an explanation connecting that finding to the indoor symptom. If a section cannot be examined without removing material, the report should identify that limitation and explain what further investigation would involve. An honest uncertainty is more useful than an unsupported promise.
Include the roof-to-wall connection and water discharge
Where a lower roof ends against a wall, ask about step flashing and the diverter at the lower end. A kick-out flashing directs runoff away from the wall and toward the gutter. PNNL’s roof and wall flashing guide illustrates why a missing detail can send water onto siding and window trim below.
That connection may require coordination between roofing and siding work. Ask which materials must be opened to expose it and how the wall’s water-control layer will be reconnected. A bead of sealant on the visible surface is not a substitute for explaining the concealed connection.
Also have the contractor assess gutter obstructions, damage and discharge near the affected area. Describe any overflow you actually saw. If water only appeared during a particular storm, record that timing without assuming the weather created every defect found.
Request a scope tied to the findings
A proposal for storm-damage repair should distinguish temporary protection, investigation and permanent work. Ask it to identify:
- The roof area and specific details being repaired.
- Which flashing, shingles, underlayment or adjoining materials will be removed and renewed.
- How concealed damage will be photographed, priced and approved if uncovered.
- Who handles interior drying, finish repairs and any required permits.
- What completion photographs and follow-up instructions you will receive.
Ask for the applicable product and workmanship terms in writing; the roofing warranty page is a starting point for that discussion. Do not infer coverage from a product name. If insurance is involved, keep the inspection record and ask your insurer about policy coverage rather than expecting a contractor to guarantee the outcome.
Questions Warwick homeowners ask after a roof leak
Does a leak after a storm prove the whole roof needs replacement?
No. The next step is to establish the entry point, affected materials and condition beyond it. A documented roof inspection provides a basis for discussing the appropriate scope.
Can a roof leak come from flashing instead of shingles?
Yes. Flashing around penetrations and roof-to-wall junctions deserves attention. Ask the contractor to show the failed detail and explain how the proposed work restores water drainage there.
What if the stain dries before the appointment?
Keep the appointment and share photographs and timing notes. A dry-looking finish does not explain the earlier leak. Ask what can be established during the visit and whether additional investigation is needed.
Arrange an assessment in Warwick
Contact Mister Roof with the property address, photographs and a description of any active leak. The Warwick showroom is at 110 Jefferson Blvd, Unit I, Warwick, RI 02888. For a broader discussion after the cause is established, see our roof repair or replacement guide.